Build Your Own Bike Repair Stand: A DIY Guide
Building a bike repair stand at home provides a stable and convenient platform for maintaining your bicycle, saving money and offering a fulfilling DIY project for any cycling enthusiast.
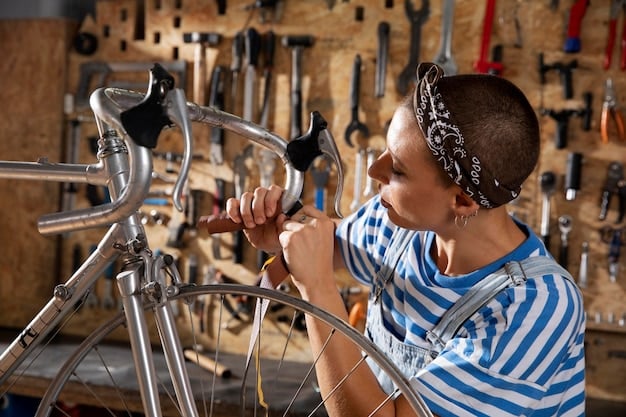
For the avid cyclist, maintaining your bike is as crucial as riding it. But professional repairs can be costly and inconvenient. That’s where building your own bike repair stand comes in. A sturdy, DIY bike stand is your gateway to hassle-free home maintenance, offering a stable platform for everything from simple tune-ups to complex repairs.
Why Build a Bike Repair Stand? The Benefits Unveiled
Building your own bike repair stand isn’t just a fun project; it’s a practical solution that offers numerous benefits. From saving money to gaining a deeper understanding of your bike, a DIY stand can be a game-changer for your cycling routine.
Cost Savings
A commercially available bike repair stand can cost anywhere from $50 to several hundred dollars, depending on features and quality. Building your own, especially using reclaimed materials, can significantly reduce these costs.
Customization
When you build a bike repair stand yourself, you have complete control over its design. You can tailor it to your specific bike type, the space you have available, and your personal preferences. This level of customization ensures the stand meets your exact needs.
Convenience
Having a bike repair stand at home means you can perform maintenance whenever it suits you, without having to schedule appointments or transport your bike to a shop. Spontaneous tune-ups become a breeze.
Skill Development
The process of building a bike repair stand is an opportunity to improve your DIY skills. You’ll learn new techniques in measuring, cutting, and assembling materials, which can be applied to other projects around the house.
- Improves bike knowledge: Regular maintenance leads to a better understanding of your bike’s mechanics.
- Encourages regular maintenance: Having a dedicated stand makes bike maintenance more accessible and less of a chore.
- Reduces wear and tear: Timely repairs prevent minor issues from escalating into major problems.
Ultimately, building a bike repair stand is an investment in your cycling future. It empowers you to take control of your bike’s maintenance, saving you time, money, and potential headaches down the road. It also promotes sustainability when you repurpose materials for the project.
Choosing the Right Design: Exploring Bike Stand Options
Before you begin your build, it’s important to consider the different design options available. Each design has its own set of advantages and disadvantages, so the right choice for you will depend on your skill level, available materials, and specific needs.
Tripod Stand
A tripod stand is a popular option due to its stability and portability. It usually consists of three legs that provide a wide base of support and a clamp to hold the bike in place. Tripod stands are easy to set up and take down, making them ideal for cyclists who need a portable repair solution.
Wall-Mounted Stand
Wall-mounted stands are a space-saving option for home mechanics. They attach directly to a wall, providing a stable and secure platform for repairs. These stands are often foldable, allowing them to be tucked away when not in use. They are best suited for those with a dedicated workspace.
Bench-Mounted Stand
Bench-mounted stands are similar to wall-mounted versions, but they attach to a workbench or other flat surface. These stands are highly stable and can handle heavier bikes. They are a good choice for dedicated home workshops.
A-Frame Stand
An A-frame stand is a simple and inexpensive design that can be constructed using basic materials. It consists of two A-shaped frames connected at the top, with a support to hold the bike frame. A-frame stands are easy to build and require minimal tools.
- Ease of storage: Consider how much space the stand will take up when not in use.
- Bike compatibility: Ensure the stand can accommodate your bike’s frame size and weight.
- Stability: A stable stand is essential for safe and effective repairs.
Selecting the right design is crucial for a successful bike repair stand project. Consider your space limitations, budget, and desired level of portability when making your decision.
Gathering Your Materials and Tools: What You’ll Need
Once you’ve chosen a design, it’s time to gather your materials and tools. The materials you’ll need will vary depending on the design you’ve selected, but there are some basic items that are commonly used in DIY bike repair stands.
Wood
Wood is a versatile and easily accessible material for building a bike repair stand. Pressure-treated lumber is a good option for outdoor stands, while plywood and dimensional lumber are suitable for indoor stands.
Metal
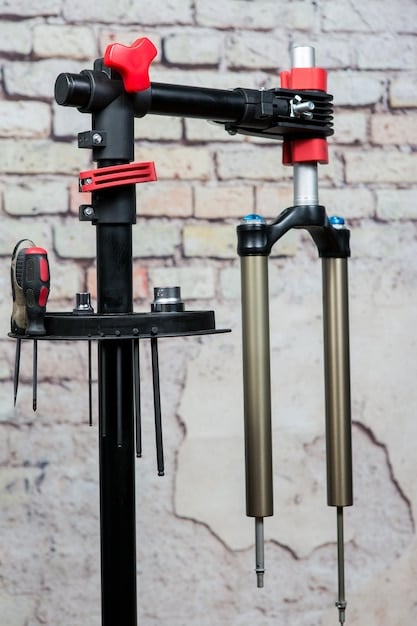
Metal, such as steel or aluminum, can provide a more durable and robust structure for your stand. Metal stands are often more resistant to wear and tear and can handle heavier bikes.
PVC Pipe
PVC pipe is a lightweight and inexpensive material that can be used to construct a simple bike repair stand. PVC stands are easy to assemble and disassemble, making them a good choice for portable solutions.
Essential Tools
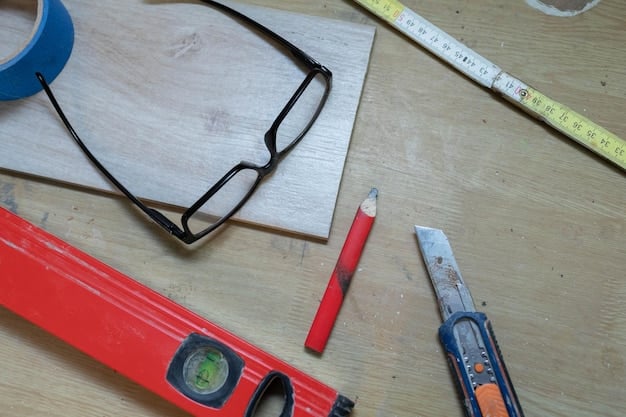
In addition to your primary materials, you’ll need a set of essential tools to complete your project safely and effectively.
- Safety glasses: Protect your eyes from flying debris.
- Measuring tape: Accurate measurements are essential for a successful build.
- Saw: For cutting wood, metal, or PVC pipe.
- Drill: For drilling holes and driving screws.
Carefully consider the materials required for your chosen design and ensure you have all the necessary tools before you begin. Safety should always be a top priority, so be sure to wear appropriate protective gear.
Step-by-Step Guide: Building a Simple A-Frame Bike Repair Stand
This section provides a step-by-step guide to building a simple A-frame bike repair stand. This design is easy to construct, requires minimal materials and tools, and provides a stable platform for basic bike maintenance.
Step 1: Cut the Wood
Begin by cutting the wood pieces to the required lengths. You’ll need four pieces of wood for the A-frames and one piece for the horizontal support. Consult your design plans for precise measurements.
Step 2: Assemble the A-Frames
Assemble the A-frames by connecting two pieces of wood at the top, forming an “A” shape. Use screws or nails to secure the connection. Repeat for the second A-frame.
Step 3: Attach the Horizontal Support
Connect the two A-frames with the horizontal support piece. This will provide stability and prevent the frames from spreading apart. Secure the support using screws or nails.
Step 4: Create the Bike Rest
Cut two pieces of wood to create a “U” shape that will cradle the top tube of your bike. Attach these to the top of each A-frame using screws; ensure they are angled for stability.
Step 5: Sand and Finish
Finally, smooth any rough edges with sandpaper and apply a finish to protect the wood from the elements. This will extend the life of your bike repair stand.
With these steps, you now know how to build a bike repair stand! Remember to always double-check your measurements and use safety precautions when working with tools.
Tips for a Sturdy and Safe Bike Repair Stand
Building a functional bike repair stand is only half the battle; ensuring it’s sturdy and safe is equally important. Here are some tips to help you create a reliable stand that will last for years to come.
Reinforce Joints
Pay extra attention to reinforcing joints and connections. Use wood glue in addition to screws or nails for added strength. Metal brackets can also be used to further secure joints.
Use Quality Hardware
Don’t skimp on hardware. Use high-quality screws, bolts, and nuts that are appropriate for the materials you’re working with. This will prevent premature failure and ensure a long-lasting stand.
Test the Stand
Before using the stand for a repair, test its stability by placing a heavy object on it. If the stand wobbles or creaks, reinforce any weak points before placing your bike on it.
Regular Inspections
Periodically inspect your bike repair stand for signs of wear and tear. Tighten any loose bolts or screws and repair any damaged components. Regular maintenance will keep your stand in good working condition.
These tips can help you achieve the sturdiest and safest bike repair stand. Remember to prioritize safety throughout the entire build and maintenance process.
Beyond the Basics: Customizing Your Bike Stand
Once you have a basic bike repair stand, you can customize it to better suit your needs. Adding features like a tool tray or adjustable clamp can significantly improve its functionality and convenience.
Tool Tray
A tool tray is a convenient addition that keeps your tools within easy reach while you’re working. You can build a simple tray using scrap wood or metal and attach it to the stand with screws or bolts.
Adjustable Clamp
An adjustable clamp allows you to securely hold your bike in different positions. You can purchase a commercially available clamp or build your own using PVC pipe and hardware.
Padded Contact Points
Add padding to the contact points where the stand touches your bike frame. This will protect your bike frame from scratches and dents.
- Lighting: Add a small work light to illuminate the repair area.
- Mobility: Attach wheels to the base of the stand for easy movement around your workspace.
- Storage: Incorporate storage solutions for tools and spare parts.
Customizing your bike repair stand is all about making it your own. Consider your specific needs and preferences and add features that will enhance your repair experience.
| Key Point | Brief Description |
|---|---|
| 🛠️ Cost Savings | DIY stands are cheaper than buying commercial ones. |
| 📏 Customization | Tailor the stand to your specific bike and space. |
| 🔧 Skill Development | Learn new DIY skills while building your stand. |
| 🚲 Convenience | Perform bike maintenance at home, on your own schedule. |
Frequently Asked Questions
▼
Wood, metal, and PVC pipes are popular choices. Wood is versatile and accessible, metal provides durability, and PVC is lightweight and inexpensive. Your choice depends on your budget, skills, and desired stand robustness.
▼
The cost can vary greatly depending on the materials used. Using reclaimed materials can bring the cost down significantly, potentially costing as little as $20-$30. Using new materials could raise the price to $50-$100.
▼
The difficulty depends on the design you choose. Simple A-frame and PVC stands are relatively easy to build, while more complex tripod or wall-mounted stands may require more advanced skills and tools.
▼
Essential tools include a saw, drill, measuring tape, safety glasses, and various fasteners (screws, bolts, nails). You might also need a wrench set, depending on the materials and design.
▼
Reinforce all joints with glue and sturdy fasteners. Use a wide base for stability, and test the stand with weight before using it with your bike. Regular inspections and maintenance are also crucial.
Conclusion
Building your own bike repair stand is a rewarding project that offers plenty of benefits. From saving money and customizing your stand to improving your DIY skills and gaining a greater appreciation of your bike, a DIY stand is a valuable asset for any cyclist. With a little planning and effort, you can create a sturdy and reliable bike repair stand that will make maintaining your bike a breeze.


