DIY Smart Sprinkler: Voice Control in Under 4 Hours!
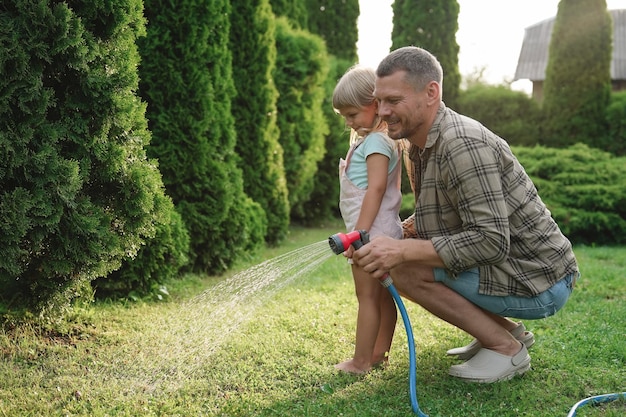
Transform your lawn care with a DIY smart home project: installing a voice-controlled sprinkler system in under 4 hours, enhancing convenience and conserving water through automated, efficient irrigation.
Imagine controlling your sprinkler system with just your voice, creating a smart and efficient lawn care solution. This DIY Smart Home Dad Project: Install a Voice-Controlled Sprinkler System in Under 4 Hours, brings you closer to that reality, effortlessly.
Upgrade Your Lawn Care: Smart Sprinkler System Basics
Smart sprinkler systems are revolutionizing lawn care by offering intelligent and automated solutions, designed to optimize water usage and simplify maintenance, making them a valuable addition to any modern home.
What is a Smart Sprinkler System?
A smart sprinkler system uses weather data and soil moisture sensors to adjust watering schedules, ensuring your lawn gets the right amount of water at the right time.
Why Go Smart?
Traditional sprinkler systems often waste water by following rigid schedules, regardless of weather conditions. Smart systems prevent this, conserving water and lowering your utility bills.
- Water Conservation: Reduces water waste by adapting to real-time weather conditions.
- Cost Savings: Lowers water bills by preventing overwatering.
- Convenience: Automates watering schedules, freeing up your time.
- Lawn Health: Ensures optimal hydration for a healthy, green lawn.
By understanding the basics and benefits of smart sprinkler systems, you can appreciate how this DIY project enhances both your home and the environment.
Tools and Materials: Preparing for Installation
Before diving into the installation, it’s crucial to gather all necessary tools and materials. Proper preparation ensures a smooth and efficient project, minimizing potential setbacks.
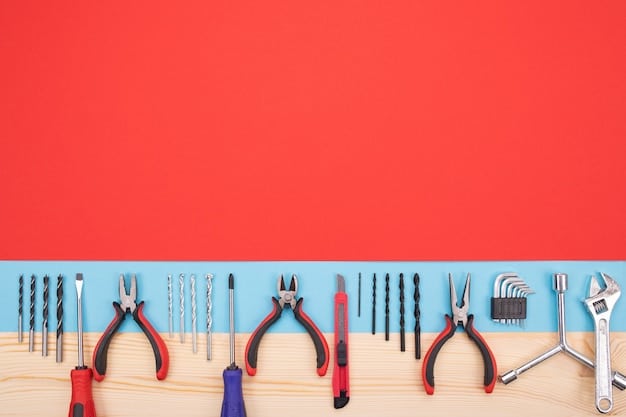
Essential Tools
Having the right tools on hand makes the installation process much easier and faster. Here’s what you’ll need:
- Wire Strippers: For safely cutting and stripping electrical wires.
- Screwdrivers: Both Phillips head and flathead screwdrivers.
- Adjustable Wrench: For tightening and loosening pipe fittings.
- PVC Cutter: To cut PVC pipes cleanly and accurately.
- Multimeter: To test electrical connections and voltage.
Required Materials
Along with the right tools, you’ll need specific materials to complete the installation successfully:
- Smart Sprinkler Controller: The brains of the system, connecting to your Wi-Fi.
- Voice Assistant Device: Such as Amazon Echo or Google Home.
- Wiring: To connect the controller to the existing sprinkler valves.
- PVC Pipes and Fittings: For any necessary plumbing adjustments.
- Waterproof Connectors: To protect electrical connections from moisture.
With the right tools and materials prepped, you’re one step closer to enjoying a smart, voice-controlled sprinkler system.
Step-by-Step Guide: Installing Your Smart Sprinkler
Installing a smart sprinkler system might seem daunting, but following a detailed, step-by-step guide can make the process straightforward and enjoyable. By breaking down each task, even novice DIYers can achieve professional results.
Step 1: Disconnect the Old Controller
Start by turning off the power to your existing sprinkler controller. Carefully disconnect the wiring and label each wire for easy reconnection later.
Step 2: Mount the New Smart Controller
Choose a suitable location for your new smart controller, typically indoors or in a weatherproof enclosure. Mount the controller securely to the wall.
Step 3: Connect the Wiring
Using the labeled wires, connect each zone wire to the corresponding terminal on the smart controller. Ensure all connections are secure and use waterproof connectors where necessary.
Step 4: Set Up the Wi-Fi Connection
Follow the manufacturer’s instructions to connect your smart controller to your home Wi-Fi network. This step is crucial for accessing weather data and controlling the system remotely.
Step 5: Configure Zones and Schedules
Use the smart controller’s app to configure each zone, specifying the type of vegetation and soil. Set up watering schedules based on local weather conditions and your lawn’s specific needs.
By following these steps, you’ll have a fully functional smart sprinkler system ready to optimize your lawn care.
Integrating Voice Control: Connecting to Alexa or Google
Integrating voice control takes your smart sprinkler system to the next level, allowing you to manage your lawn care with simple voice commands. Connecting to platforms like Alexa or Google Home enhances convenience and ease of use.
Setting Up Alexa Integration
To connect your smart sprinkler system to Alexa, follow these steps:
- Enable the Skill: Search for your sprinkler controller’s skill in the Alexa app and enable it.
- Link Accounts: Follow the prompts to link your sprinkler controller account to your Alexa account.
- Discover Devices: Alexa will automatically discover your sprinkler zones.
Setting Up Google Home Integration
Connecting to Google Home is just as straightforward:
- Add Device: Open the Google Home app and select “Add Device.”
- Link Account: Choose your sprinkler controller from the list and link your account.
- Assign Zones: Assign each zone to a room for easy voice control.
Voice Commands
Once integrated, you can use a variety of voice commands to control your system, such as:
- “Alexa, turn on zone 1.”
- “Hey Google, water the backyard for 10 minutes.”
- “Alexa, skip the next watering schedule.”
With voice control, managing your sprinkler system becomes incredibly convenient and efficient, freeing up your time and ensuring your lawn stays healthy.
Troubleshooting: Common Issues and Solutions
Even with careful installation, you might encounter some issues with your smart sprinkler system. Knowing how to troubleshoot common problems can save you time and frustration.
Controller Not Connecting to Wi-Fi
Ensure your Wi-Fi network is stable and that you’ve entered the correct password. Sometimes, moving the controller closer to the router can improve the connection.
Zones Not Watering
Check the wiring connections to each zone and ensure the valves are functioning correctly. A multimeter can help diagnose electrical issues.
Incorrect Weather Data
Verify that your controller is connected to a reliable weather data source. You may need to manually adjust settings if the data is inaccurate.
Valve Problems
Inspect the sprinkler valves for any clogs or damage. Sometimes, cleaning the valve diaphragms can resolve operational issues.
By addressing these common issues, you can keep your smart sprinkler system running smoothly and efficiently.
Maintenance and Optimization: Keeping Your System Efficient
Maintaining your smart sprinkler system ensures it continues to operate efficiently and effectively, saving you water and money. Regular checks and optimizations can extend the life of your system and improve its performance.
Regular System Checks
Periodically inspect your sprinkler heads for clogs or damage. Clean or replace them as needed to ensure even water distribution.
Adjusting Schedules
Monitor local weather conditions and adjust watering schedules accordingly. Over time, plant needs change, so revisit your settings regularly.
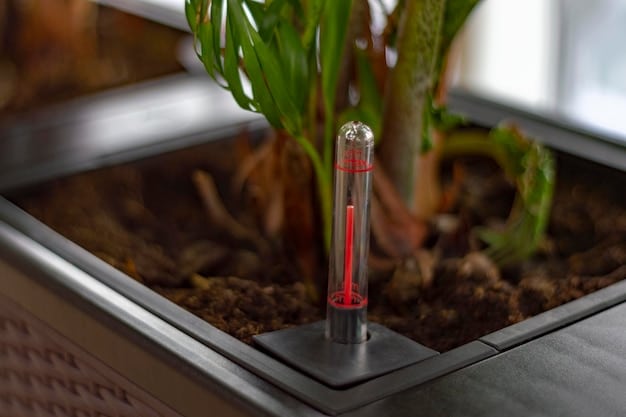
Checking Soil Moisture
Use a soil moisture meter to verify that your lawn is receiving the right amount of water. Adjust watering times based on your soil type and plant requirements.
Winterizing Your System
In colder climates, winterizing your sprinkler system is essential to prevent damage from freezing temperatures. Drain the pipes and insulate the controller to avoid costly repairs.
With proper maintenance and optimization, your smart sprinkler system will continue to provide efficient and effective lawn care for years to come.
| Key Point | Brief Description |
|---|---|
| 💧 Water Conservation | Smart sprinklers adjust watering based on weather conditions. |
| 💸 Cost Savings | Reduces water bills by preventing overwatering. |
| 🗣️ Voice Control | Integrate with Alexa or Google for easy management. |
| 🛠️ DIY Friendly | Install a smart sprinkler system in under 4 hours. |
Frequently Asked Questions
▼
Smart sprinkler systems use real-time weather data and soil moisture sensors to adjust watering schedules, preventing overwatering and conserving water by only watering when needed.
▼
Yes, most smart sprinkler systems can be controlled remotely via a smartphone app. This allows you to adjust settings, monitor usage, and turn zones on or off from anywhere.
▼
With the right tools and a step-by-step guide, installing a smart sprinkler system can be a straightforward DIY project, often completed in under 4 hours. Ensure you follow safety precautions.
▼
Yes, many smart sprinkler systems are compatible with voice assistants like Amazon Alexa and Google Home, allowing you to control your system with simple voice commands.
▼
Regular maintenance includes checking sprinkler heads for clogs, adjusting schedules based on weather conditions, and winterizing the system in colder climates to prevent damage from freezing.
Conclusion
Embarking on a DIY Smart Home Dad Project: Install a Voice-Controlled Sprinkler System in Under 4 Hours not only elevates your home’s intelligence but also promotes sustainability and efficiency. By following this guide, you can transform your lawn care routine, ensuring a healthier lawn while conserving water and saving money.


